Sunday, November 9, 2025

What are the best tips to maintain a bike in the proper way?

When you buy an equipment, a manual will be provided with it. A good manual will provide instructions on how to install the equipment correctly. It will provide information on how to use it safely and maintain it so that it will run efficiently.

Even though not all brands/retailers for bicycles will provide such a manual, if you google “owner's manual for bicycle” you should not have any problem in finding one online. From it, you can even learn if you are getting the right frame size for your height.

Though you get your bicycle fully assembled from your bike shop, in the manual you will learn how it is assembled and the type of tools and the sizes you need to do the job. That way if any of the parts are loosen, you will know how to fix it back correctly and with the right tools.

You will learn the name of the parts on the bicycle which will enable you to tell the mechanic clearly what needs to be fixed if professional help is required. I like this image extracted from an old manual for Centurion Road Bike:  


A manual also provides a schedule on when and what on your bicycle should be cleaned, serviced and lubricated. It also inform you what you should not do with it. Eg, here is a tip on how to set your gears so that you will not wear out your chain earlier than it should.


I like the instruction manual provided by Green Line for its Single-speed and Multi speed Beach Cruisers, it provides very clear information with lots of images.


The link to ”Owner's Manual Single Speed and Multi-Speed Bicycles” from Dynacraft Bikes is also very good.

If you take the time to read the manual, you should not have any problem maintaining your bicycle in a proper way.

Saturday, November 8, 2025

How do we protect bicycle tyres from cracking?

Avoid doing things to your tyres that will age and dry them out and cause them to crack.

You should:

1) keep bicycle indoor to avoid exposure to the sun's heat or rain.

2) use the proper air pressure in your tyres to prevent overstretching them out.

3) not wash your tyres excessively with chemical cleaners that will remove waxes and other chemical compound the manufacturer used to protect the surface. If you like your tyres looking clean and new, shop around for polish or wax for tyres that will protect or prevent dirt and mud from sticking to them easily.

4) ride on your bicycle regularly so that the tyres are stretched to maintain their flexibility.

5) inflate the tyres at least every 2 weeks even if you are not cycling your bicycle.

6) remove the wheels from your bicycle and hang them up if you do not plan to cycle for a long period of time. This is to prevent weight of your bicycle from sitting on the tyres.

You can also find other ways to store your bicycle. My customer bought this ceiling hooks from our bike shop to hang his bicycle up in his parent’s home. He rides it only when he is free during the weekends.


You can also check out bike shops to learn how they hang their bicycles for display. This was how we displayed our bicycles at our former bicycle shop.


These are some of the storage racks for hanging bicycles up, that you should be able to find in the market.This rack is suitable for those with more than two bicycles to store, as additional holders can be purchased separately.


This rack is suitable for those with more than two bicycles to store, as additional holders can be purchased separately.

If you have to keep it outdoor, make sure that it is properly covered to protect it from the exposure of rain and sun.

You can also find such covers in shops selling motorbikes but I noticed that there are usually priced higher there than at a bike shop.

When should you apply lubricant on your bicycle?

The best time to lubricate the moving parts of your bicycle, which includes your chain, is right after you clean it, especially, after cycling in wet or dusty condition.

According to instruction manual from Cylion the manufacturer for “Multifunction Chain Cleaner” and chain cleaning agents, it is recommended that you clean your bicycle after every 100km of riding.

However, if you look at your bike manual, you will see that there is a schedule for you to clean and lubricate the moving parts on your bicycle with grease, lubricant and chain lube.


So, even if you have not cycled for a while, you should try to follow the schedule to prevent rust and corrosion.

Grime and grit on moving parts will cause friction. You will know that you have to lubricate them when you feel that your ride is less “smooth” than usual. So, it is alright to lubricate them more often then scheduled. Use wet lube if you tend to ride in wet and dusty condition.
This schedule is a page from the “Bicycle Owner’s Manual” for Apollo bicycles.
If you do not have a manual, you can google “owner's manual for bicycle” to find one online.

The first thing you should do, if you have not lubricated your bicycle since day one you ride on it, is to wash the drive train. That will be the chain and the components that it runs through. Hose off any dirt sticking to the parts first then wipe it dry with a towel before you lubricate the chain and all the moving parts.

There are many type of cleaning set in the market. Here is one of the models from Super B.


Some cleaning agents and sets come with instruction on its packaging which will give you an idea how your drive train should be cleaned. I always keep a copy of such for product sold in my shop. This one is from Cylion.


If you do not want grit to stick to recently lubricated bike, it is best not to over lubricate parts to prevent dirt build up. For best results, you can lubricate your chain 24 hours ahead of your ride to allow liquid carrier of the lube or lubricant to evaporate. Before you ride, wipe off any access that you see. That way your drivetrain will stay cleaner after each ride.

Be careful when spraying lubricants to avoid getting any on your brake disc rotor or pads. You will know that it has been contaminated if you can hear a squealing sound when you brake. You can clean the rotor with a degreaser or rubbing alcohol to stop the annoying sound. As a last resort, you can use soap and water.

Saturday, October 11, 2025

Can I fit a bicycle in a Kia Forte 2019?

Can you transport your bicycle in a compact sedan like a 2019 model Kia Forte?

Is your bicycle 700C in wheel size?

Or a leisure bike with a large basket installed?

Most bicycles can easily be fitted into a car. Kia promoted its Kia Forte as a compact car with roomy trunk. So, you should not have a problem transporting your bicycle in it.  For a 20″ wheel size bike, you can place it on the floor of the backseat. 

If there are children in the car, they can sit comfortably, with their legs crossed on the seat.

If you are transporting larger wheel size bicycle in the boot, you may have to remove one of the wheels or both if you have some stuff in your car.  Watch this video to learn how to remove the front wheel.

Most of our customers tend to have difficulty removing the rear wheel of their geared bikes.  If you have to remove it too, watch this video.

If your bicycles do not have QR mechanism installed, we can replace the axles to a pair of hollow shaft set which are supplied with the QR skewers.

The part you see circled in red on the bicycle is the rear derailleur.  

When transporting your geared bike, do not lie it on floor facing it.   It is a sensitive gear component.  Most of the time, we to have set the gears on our customers' bicycles because they have been transporting their bicycles in the boot the wrong way. They are not aware that when they placed their bicycles in their boots with the rear derailleurs pressing against the floor, it can affect the efficiency of the component.

Watch this video if you want more tips about fitting your bicycle in your car.

Sunday, December 8, 2024

Learn how to remove decals on your bicycle

An 18" wheel size bike is perfect for a six years old child if he or she is not tall enough yet for a 20" wheel size bike.  He is likely too tall for a 16" wheel size bicycle, which is possibly what he or she is currently cycling on.

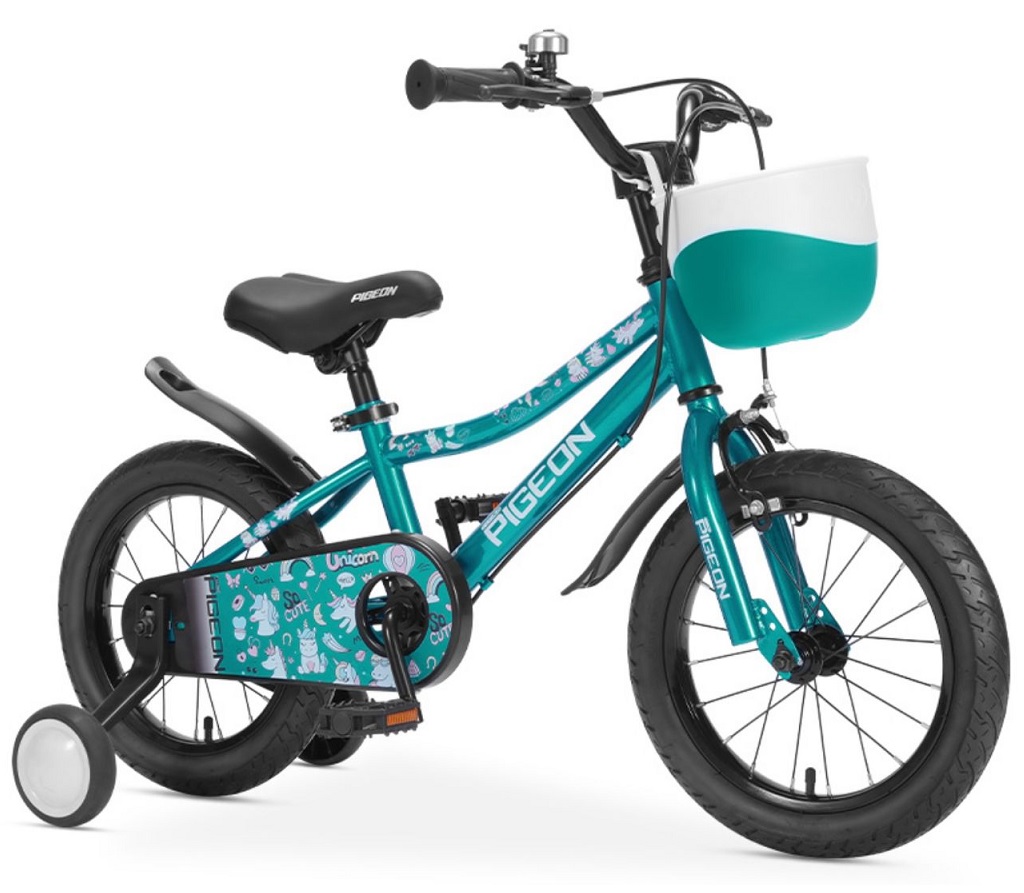
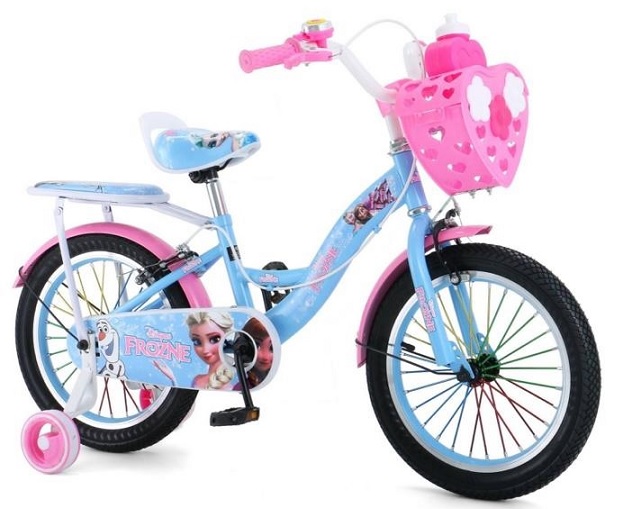
Recently, my disbutributors have 18" wheel size bicycles to offer and I have been stocking them for the bike shop.  These are some models available.


Yesterday, a six years old child came with his parents and grandparents to select a bicycle for his birthday.  It will be a gift from his grandparents.  He likes the above 18" wheel size bike in blue.  However, both the parents and grandparents objected because there were lots of Chinese writings on the bicycle. 

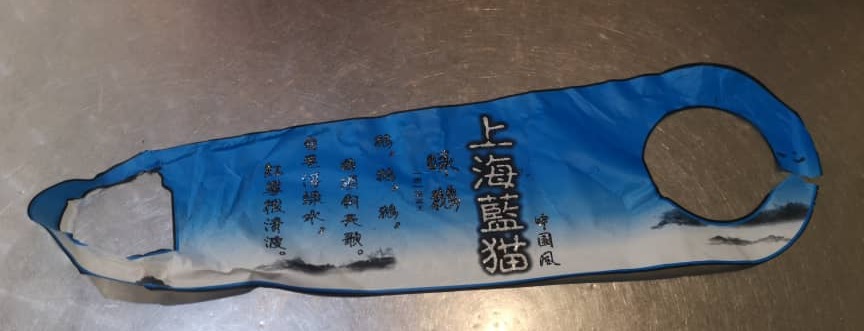
I told them that they should be able to remove the decals on the frame and mudguard by heating over them with a hair dryer.  In the end, they opt to go to another bike shop to try to find another bike to his liking.  

I could tell that the child likes the bike very much so I took the trouble to remove the stickers today.  As I heated the decal with the hair dryer and it loosen up, I used the flat of a knife to push it out further.


It took me sometime to remove them as I also need to remove the sticky residue left behind by using an insulation tape.


I have done my best and I am sure his family members will no longer have any objections to his choice.  I hope to see you back for this bike, kid. 


According to a test ran by The Kitchn, the easiest way to remove sticky stickers is by using vinegar. This is how you should do it:

-soak a paper towel with vinegar.
-place it over the sticker.
-depending on thickness of stickers, let it sit for 5 up to 15 minutes.
-try lifting the sticker off the surface after 5 minutes. 
-leave paper towel with vinegar to sit for a bit longer if it is still difficult to remove the decals.

This information is very useful for parents who bought a pink bike for their daugther whose younger sibling is a boy.


They can remove the pink or girlish decals by following the above instructions I have provided when it is time to pass the bike down to their son.

Saturday, April 11, 2020

Should the rusty chain on my bicycle be replaced?

If your chain is all rusted, should you replace it? That depends on whether you can remove the rust off your chain. Once that is done and there are no kinks or stiff link pins in any of the links, you do not have to replace it.

It is easier to clean it by taking the chain off your bicycle and soak it in a rust removing solution like Q12. Lubricate the chain after you have re-installed it on the bicycle.


Note that as dirt and grime can easily stick onto the lubricating film, let it “dry out” (absorbed) on the chain overnight, if possible, before you start cycling on it.

Check out your bicycle owner's manual and learn how to take care of your chain to prevent it from getting rusty any sooner. It usually include a schedule to advise you when you should be lubricating the moving parts on your bicycle.


Tuesday, April 7, 2020

Tools for assembling a bicycle

Most good quality bicycles are usually supplied with “Bicycle Owner’s Manual”. If it is not supplied with the bicycle you purchased, you can easily find one if you google “bicycle owner’s manual”.

I googled “bmx bicycle assembly tools .pdf” and found a link to this image of tools:


These are the tools you require:
1. Standard Phillips Head Screwdriver
2. Adjustable Wrench
3. 4,5,6,8mm Allen Wrenches
4. Pedal wrench or 15mm Open End Wrench
5. Standard Slip Joint Pliers
6. Standard Flat Head Screwdriver

This information is extracted from Dynacraft Owner’s Manual. It provides very clear instruction for assembling a 12” to 24” wheelsize BMX which is the standard procedure for assembling most single speed bicycles. Since the manual is for a BMX, it includes information about gyro brake system which you can ignore if your bicycle is not installed with one..

However, if you assembling a bicycle with gear components installed, check out “Dynacraft Owner’s Manual for MTB”. The tools required for assembling it are the same.